I’m here to guide you step by step on how to download Bootcamp on your Mac, making it as easy as a walk in the park.
With just a few clicks, you’ll be able to run Windows on your Mac seamlessly.
In this article, I’ll show you the system requirements, how to download the Bootcamp Assistant, prepare a USB flash drive, install Bootcamp, and set up Windows on your Mac.
Let’s dive in and get started!
Key Takeaways
- Bootcamp is only available on Mac models with Intel processors and is not currently supported on Macs with M1 chips.
- A minimum of 64GB of free space on the startup disk is required for Bootcamp installation.
- Bootcamp is compatible with macOS Mojave or later versions, although older versions may require an update before downloading Bootcamp.
- To download Bootcamp, open Finder, navigate to the Applications folder, open the Utilities folder, and launch the Bootcamp Assistant. A stable internet connection is required for the download.
Check System Requirements
To ensure compatibility, I need to check if my Mac meets the system requirements for downloading Bootcamp. Bootcamp is a utility that allows me to run Windows on my Mac, giving me the flexibility to use both operating systems on one device. Before I proceed with the download, it’s crucial to verify that my Mac meets the necessary specifications.
First and foremost, I need to determine if my Mac is supported by Bootcamp. This utility is available on Mac models that have an Intel processor. If I’ve a Mac with an M1 chip, I’ll need to look for alternative solutions, as Bootcamp doesn’t currently support this architecture.
Next, I should check if my Mac has enough storage space. Bootcamp requires a minimum of 64GB of free space on the startup disk. This is necessary to accommodate the Windows operating system and any additional applications or files I may install.
Lastly, I must ensure that my Mac is running a compatible version of macOS. Bootcamp is compatible with macOS Mojave or later versions. If I’ve an older version of macOS, I may need to update it before proceeding.
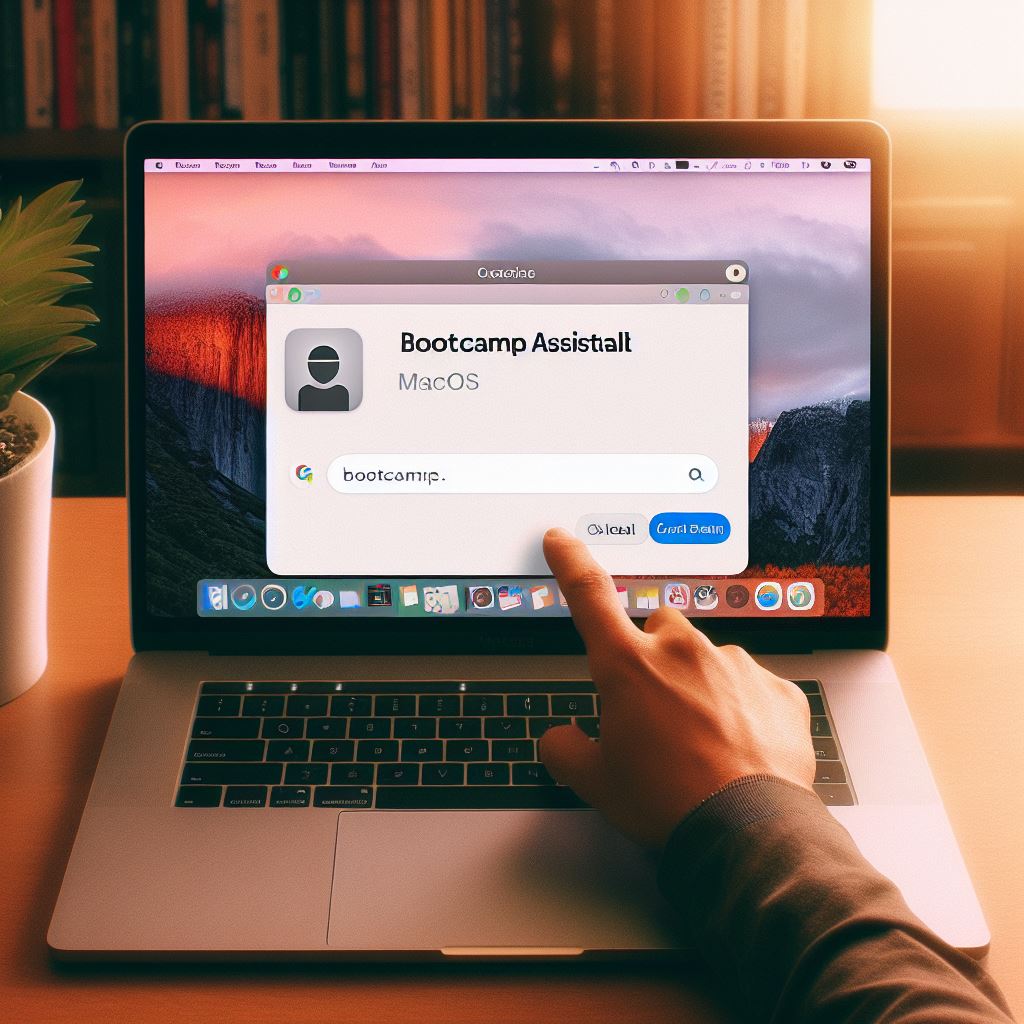
Download the Bootcamp Assistant
Now, I need to download the Bootcamp Assistant, which will guide me through the process of installing Windows on my Mac.
To download the Bootcamp Assistant, I’ll follow these steps:
- Open the Finder on your Mac by clicking on the Finder icon located on the Dock or by pressing Command + Space and typing ‘Finder’ in the Spotlight search.
- In the Finder window, navigate to the ‘Applications’ folder located on the left sidebar.
- Scroll down and find the folder named ‘Utilities.’ Open the ‘Utilities’ folder by double-clicking on it.
- Inside the ‘Utilities’ folder, you’ll find the Bootcamp Assistant. Double-click on the Bootcamp Assistant icon to launch the application.
- Once the Bootcamp Assistant opens, you’ll be prompted to download the latest Windows support software. Make sure you have a stable internet connection and click on the ‘Continue’ button to proceed with the download.
- The Bootcamp Assistant will now guide you through the process of partitioning your Mac’s hard drive and installing Windows on your computer.
Prepare a USB Flash Drive
I will need to prepare a USB flash drive to continue with the installation process of Bootcamp on my Mac. This step is crucial as it allows me to create a bootable drive that will be used to install Windows on my Mac.
Here are the steps to prepare a USB flash drive:
- Format the USB drive: Connect the USB flash drive to your Mac and open the Disk Utility. Select the USB drive from the list on the left, click on the ‘Erase’ tab, and choose the ‘ExFAT’ format. Click on ‘Erase’ to format the drive.
- Download the Windows ISO: Visit the official Microsoft website and download the Windows ISO file. Make sure to choose the correct version and edition of Windows that you want to install on your Mac.
- Create a bootable USB drive: Open the Boot Camp Assistant on your Mac and select the option to create a Windows 10 or later install disk. Choose the ISO file you downloaded and select the USB drive as the destination. Click on ‘Continue’ to start the creation process.
Install Bootcamp on Your Mac
To install Bootcamp on my Mac, I’ll need to follow a few simple steps.
First, I need to make sure that my Mac meets the system requirements for Bootcamp. These include having a compatible version of macOS, sufficient disk space, and a Mac model that supports Windows. Once I’ve confirmed this, I can proceed to the next step.
Next, I’ll need to download the Bootcamp Assistant from the Apple website. This tool will guide me through the installation process and help me create a partition for Windows on my Mac’s hard drive. I can find the Bootcamp Assistant by searching for it in the Applications/Utilities folder or by using Spotlight.
After downloading the Bootcamp Assistant, I’ll need to open it and follow the on-screen instructions. The Assistant will prompt me to choose the ISO file of the Windows operating system that I want to install. I’ll also need to specify the size of the Windows partition and allocate enough space for my needs.
Once I’ve completed these steps, the Bootcamp Assistant will partition my Mac’s hard drive and prepare it for Windows installation. It will then prompt me to insert a USB flash drive with enough storage capacity to hold the Windows drivers. I’ll need to follow the instructions to create a Windows installation USB drive.
After creating the Windows installation USB drive, I can restart my Mac and hold down the Option key. This will bring up the startup manager, where I can select the USB drive as the startup disk. From there, I can follow the prompts to install Windows on my Mac.
Set up Windows on Your Mac
Once the Bootcamp Assistant has partitioned my Mac’s hard drive and prepared it for Windows installation, I can proceed to set up Windows on my Mac. Here are the steps to follow:
- Insert the Windows installation media, such as a USB drive or DVD, into your Mac.
- Restart your Mac and hold down the Option key until the Startup Manager appears.
- Select the Windows installation media from the list of available startup disks.
- Follow the on-screen instructions to begin the Windows installation process.
- Choose the language, time zone, and keyboard layout for your Windows installation.
- Select the partition labeled ‘BOOTCAMP’ to install Windows on.
- Format the partition if prompted, and then click Next to continue.
- Windows will proceed to install and may restart your Mac several times during the process.
- Once the installation is complete, follow the prompts to set up your Windows user account and preferences.
- After setting up Windows, you can switch between macOS and Windows by restarting your Mac and holding down the Option key to access the Startup Manager.
Setting up Windows on your Mac using Bootcamp allows you to enjoy the benefits of both macOS and Windows, giving you the flexibility to use the operating system that best suits your needs.


